
Fortress Merge looks simple at first: buy a building, merge matching copies and press Fight. The difficult part is realizing that a higher level building is not automatically better than a well organized board.
Your available tiles, enemy route, gold income and unit mix all matter. The strongest fortress gives enemies somewhere bad to stand while your units and towers punish them for being there.
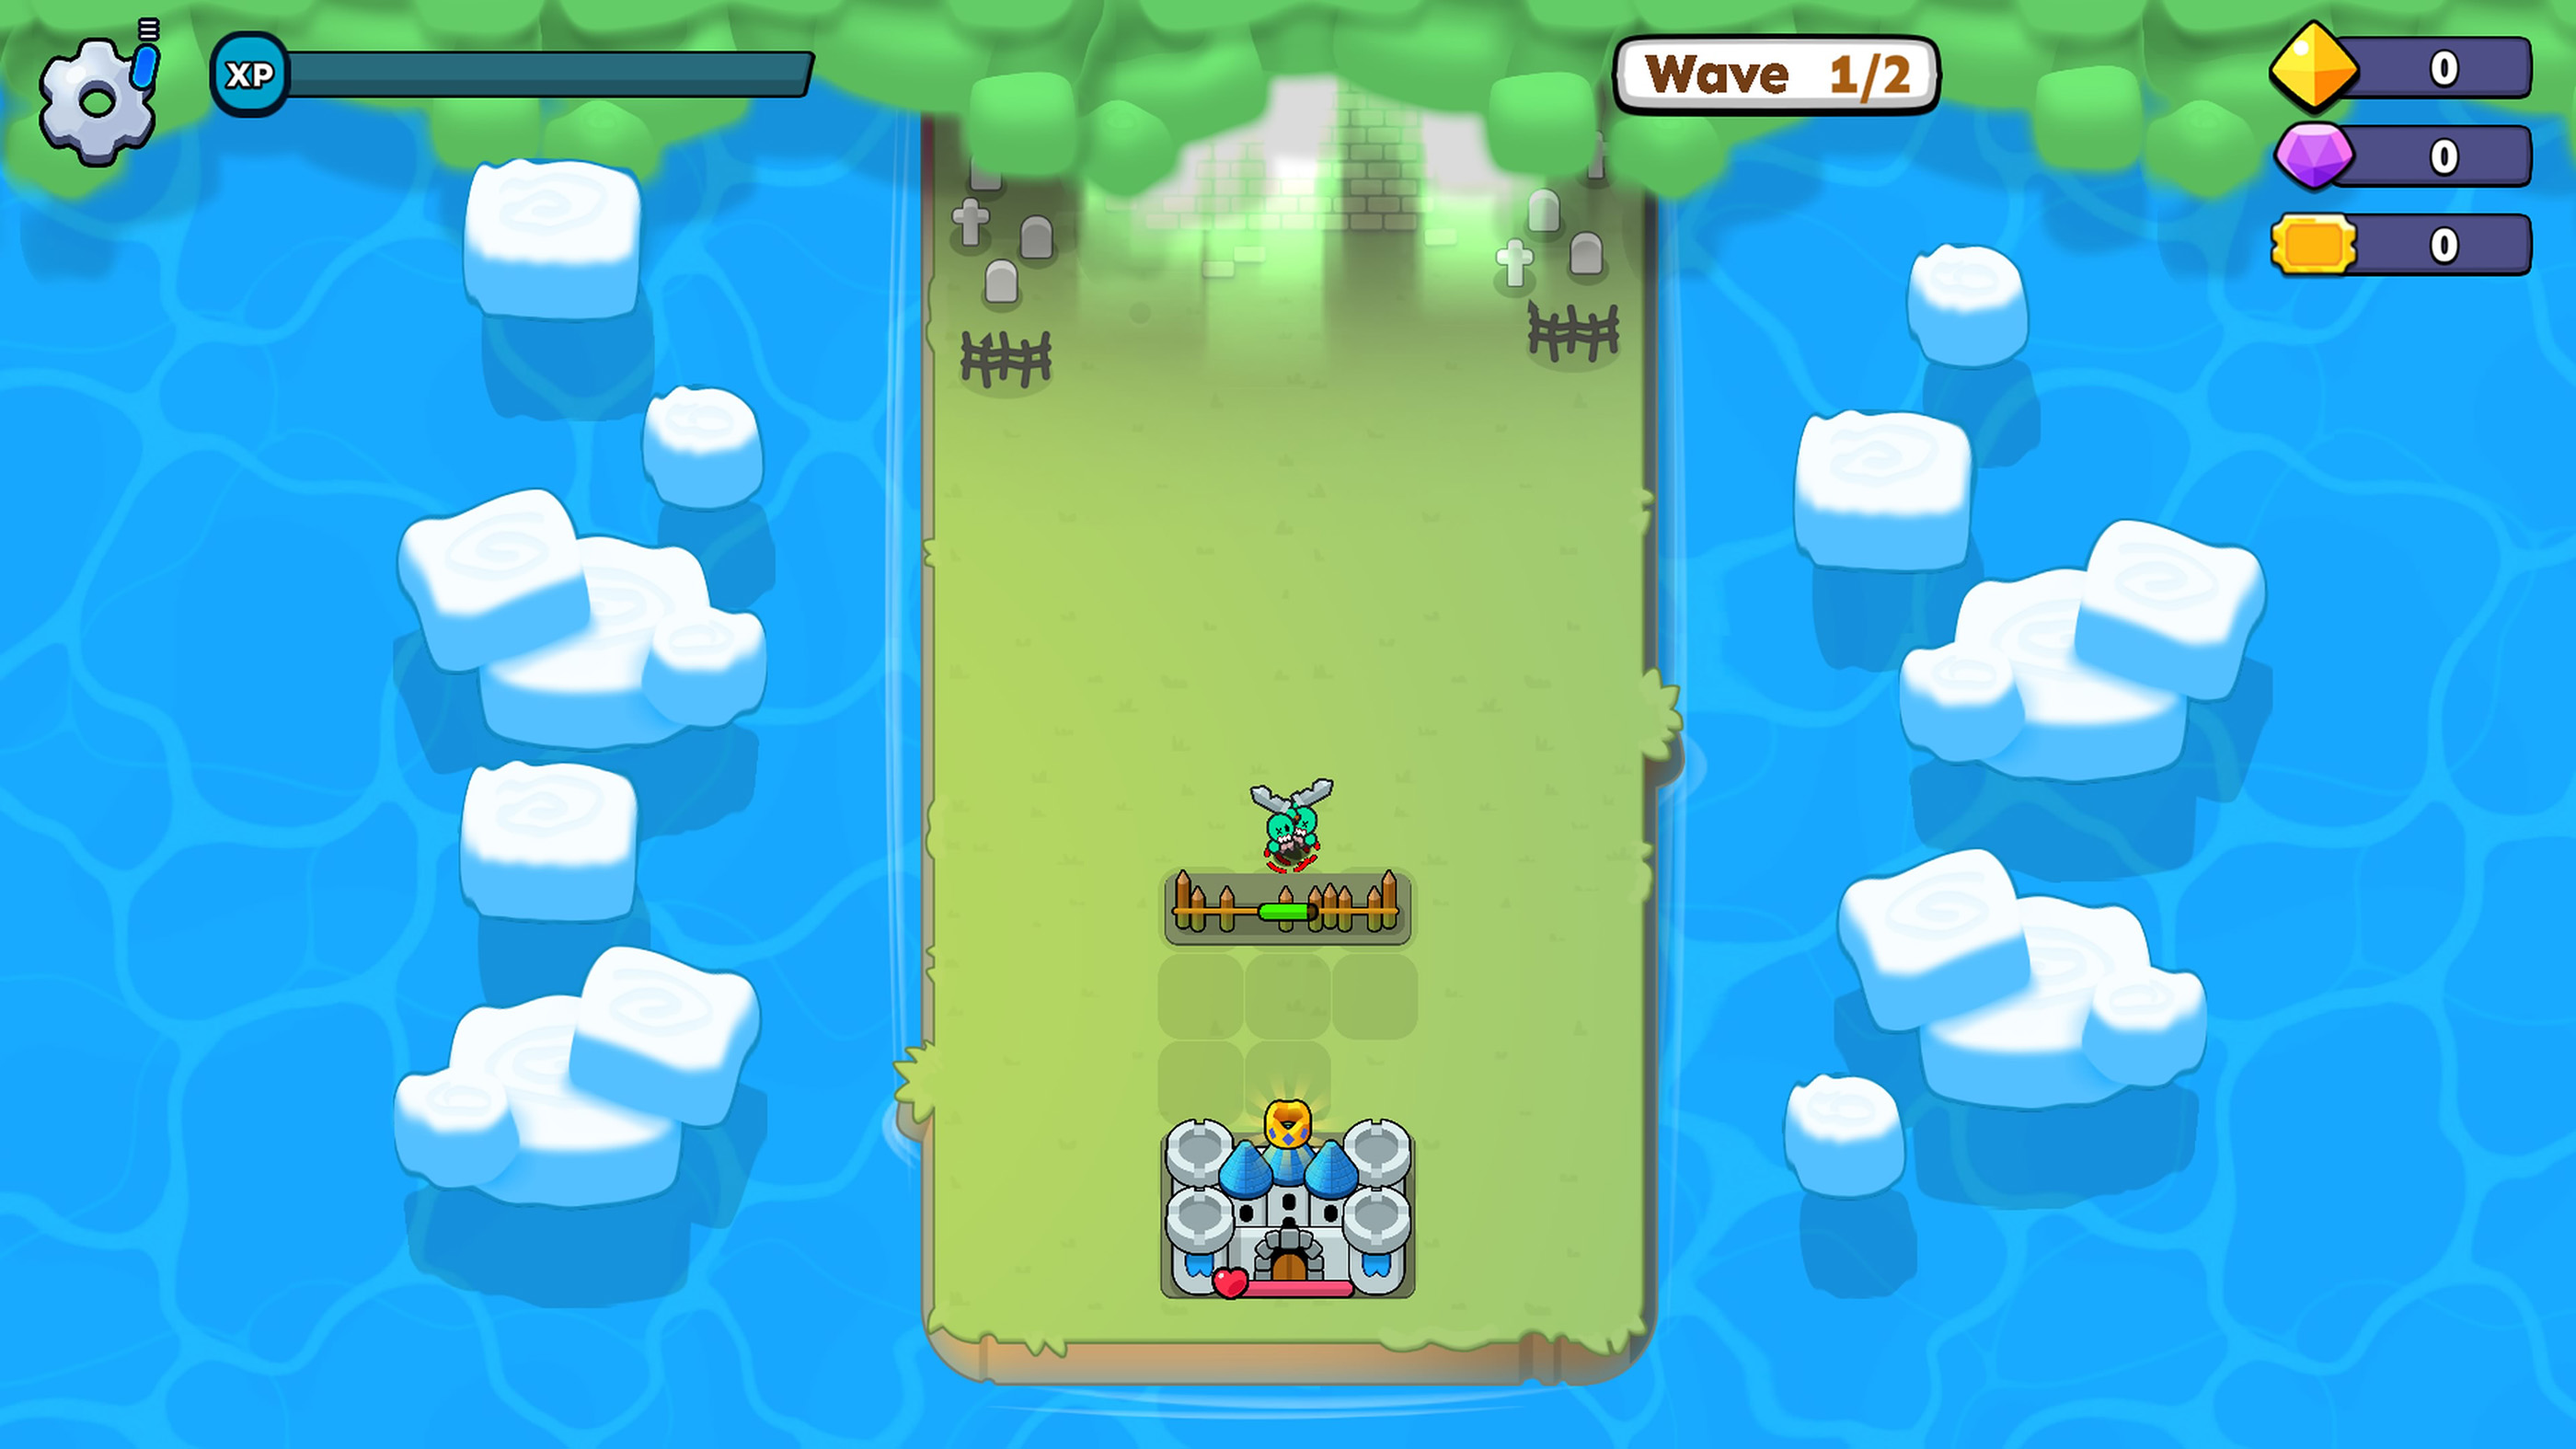
Build the Choke Point First
Before worrying about damage, decide where you want enemies to stop.
A barricade placed on the real approach to your castle buys time for every turret, archer and mage behind it. That extra firing time is often worth more than placing another random damage building.
Watch the first wave at normal speed to confirm that enemies actually use the route you expected.
Keep Damage Behind Your Barricades
Turrets, Teslas, catapults and ranged unit structures are much more useful when enemies remain inside their attack range for several seconds.
Place the obstacle first, then build damage around the area where enemies are likely to gather.
A powerful tower in a corner that barely reaches the fighting is mostly wasted space.
Do Not Put Gold Mines on the Front Line
Gold mines can improve your economy between waves, but only if they survive long enough to produce value.
Place them behind your defensive line rather than directly on the enemy route. A mine destroyed immediately is not an investment. It is a tile you gave to the enemy.
Merge Walls More Aggressively Than Unit Camps
Merging is the name of the game, but different buildings benefit from it in different ways.
Barricades gain the durability needed to hold tougher enemies, so merging matching walls is usually valuable. Mines also benefit from stronger production while freeing another tile.
Unit camps require more thought. Two separate camps may produce more units and cover more of the battlefield than one stronger camp.
Ask why you are merging
Merge because you need more power, more durability or another free tile. Do not merge simply because two matching icons happen to be next to each other.
Board Space Is a Resource
Trees and other obstacles reduce the number of useful tiles available on some stages.
Do not clear everything immediately. Removing obstacles costs resources, and an empty tile has no value until you have something useful to place there.
Clear space when an obstacle prevents you from completing an important defensive formation or placing a building you already need.
Do Not Reroll the Shop Repeatedly
A single reroll can fix a board that desperately needs a wall or damage structure. Repeated rerolls can destroy your economy.
The cost rises, so stop searching for the perfect shop and work with what the game actually gives you.
A slightly imperfect building placed correctly is usually better than spending all your gold looking for one specific card.
Protect the Castle with Positioning
The castle is not glued to its original tile. Move it when the starting location leaves it unnecessarily exposed.
Try to make enemies pass through your main defensive area before they can reach it.
If the castle is sitting directly behind a weak barricade with no second layer of protection, one strong enemy can end the run very quickly.
Use Unit Buildings for Different Jobs
Fortress Merge includes buildings that produce knights, horsemen, archers and mages. They should not all be treated as interchangeable damage sources.
Melee units help occupy enemies near the front, while ranged units are safer when their structures remain farther back. Build a formation rather than simply filling every available square with whichever unit appeared most recently.
Give Catapults and Area Damage a Crowd
Area attacks become far more effective when enemies are grouped together.
A durable barricade naturally creates that group. Position catapults and similar defenses so they can repeatedly attack the same choke point.
The wall is not merely protecting the tower. It is creating the target the tower wants.
Choose Battle Upgrades for the Board You Have
Merging structures fills your experience meter and eventually gives you temporary upgrade choices during the battle.
Global bonuses are particularly useful because they improve several parts of the fortress at once. Cooldown improvements, building durability and broad damage bonuses can remain useful throughout the entire map.
A rare upgrade that improves everything you use can be better than a flashy high rarity bonus for a unit type you barely have.
Cooldown Bonuses Are Extremely Useful
Faster cooldowns mean towers attack more often and producing buildings can contribute more frequently.
If a cooldown upgrade affects several important structures on your current board, it can increase your total output much more than a small bonus to one specific unit.
Use Your Hero as a Fighter, Not a Wall
Heroes have their own stats, combat abilities and permanent bonuses, but they should still be positioned intelligently.
A melee hero usually works well close enough to the choke point to join the fight without becoming the first thing every enemy hits. Ranged or support focused heroes can operate farther back.
Do not sacrifice your hero's usefulness by putting them on a tile that should have contained a real barricade.
Invest in One Main Hero First
Spreading upgrades and gear across every available hero can leave all of them underdeveloped.
Choose a hero whose permanent bonus matches the type of fortress you normally build, then invest in that hero's useful gear before trying to improve everyone equally.
Read Gear Bonuses, Not Just Rarity
Gear can improve heroes and provide bonuses that affect the wider board.
A piece that strengthens cooldowns, defenses or the unit family you regularly use may be more useful than an item with a prettier rarity border but a weaker effect for your strategy.
Avoid spending scarce upgrade materials on gear you already expect to replace.
Prepare for the Boss Before the Boss Arrives
Normal waves can hide weaknesses because small enemies die quickly. Bosses expose them.
Before a final boss wave, ask whether your barricade can survive long enough and whether your strongest damage buildings actually cover that location.
Gold sitting unused when the boss arrives does nothing. Convert your remaining resources into useful defense and damage before pressing Fight.
Sell Weak Economy Pieces Before the Last Fight
A gold mine has tremendous value when several future waves remain. That value drops sharply when there is no future economy to build.
Before the final boss, selling an exposed or unnecessary mine can provide resources for another wall, tower or reroll that directly helps you survive.
Do Not Remove the Only Thing Stopping the Boss
It is easy to become obsessed with damage before a boss and sell too much defense.
Your towers need time to work. If the boss walks directly through an empty path and reaches the castle, another damage upgrade may not matter.
Keep enough stall on the route to create a real damage window.
Turn Off Fast Speed for New Bosses
Faster battle speed is convenient while farming easy waves, but it can hide exactly why a new boss defeated you.
Watch the opening section of an unfamiliar boss at normal speed. See which building it attacks first, whether it follows the expected route and where your defense begins to collapse.
That information makes the next attempt much easier to fix.
Destroyed Buildings Are Not Always a Disaster
A frontline structure can still do its job even if it is eventually destroyed.
If a cheap building keeps a boss occupied long enough for your strongest towers to attack several more times, that building provided real value.
The castle is the piece that ultimately needs to survive.
Adapt to Each Battlefield
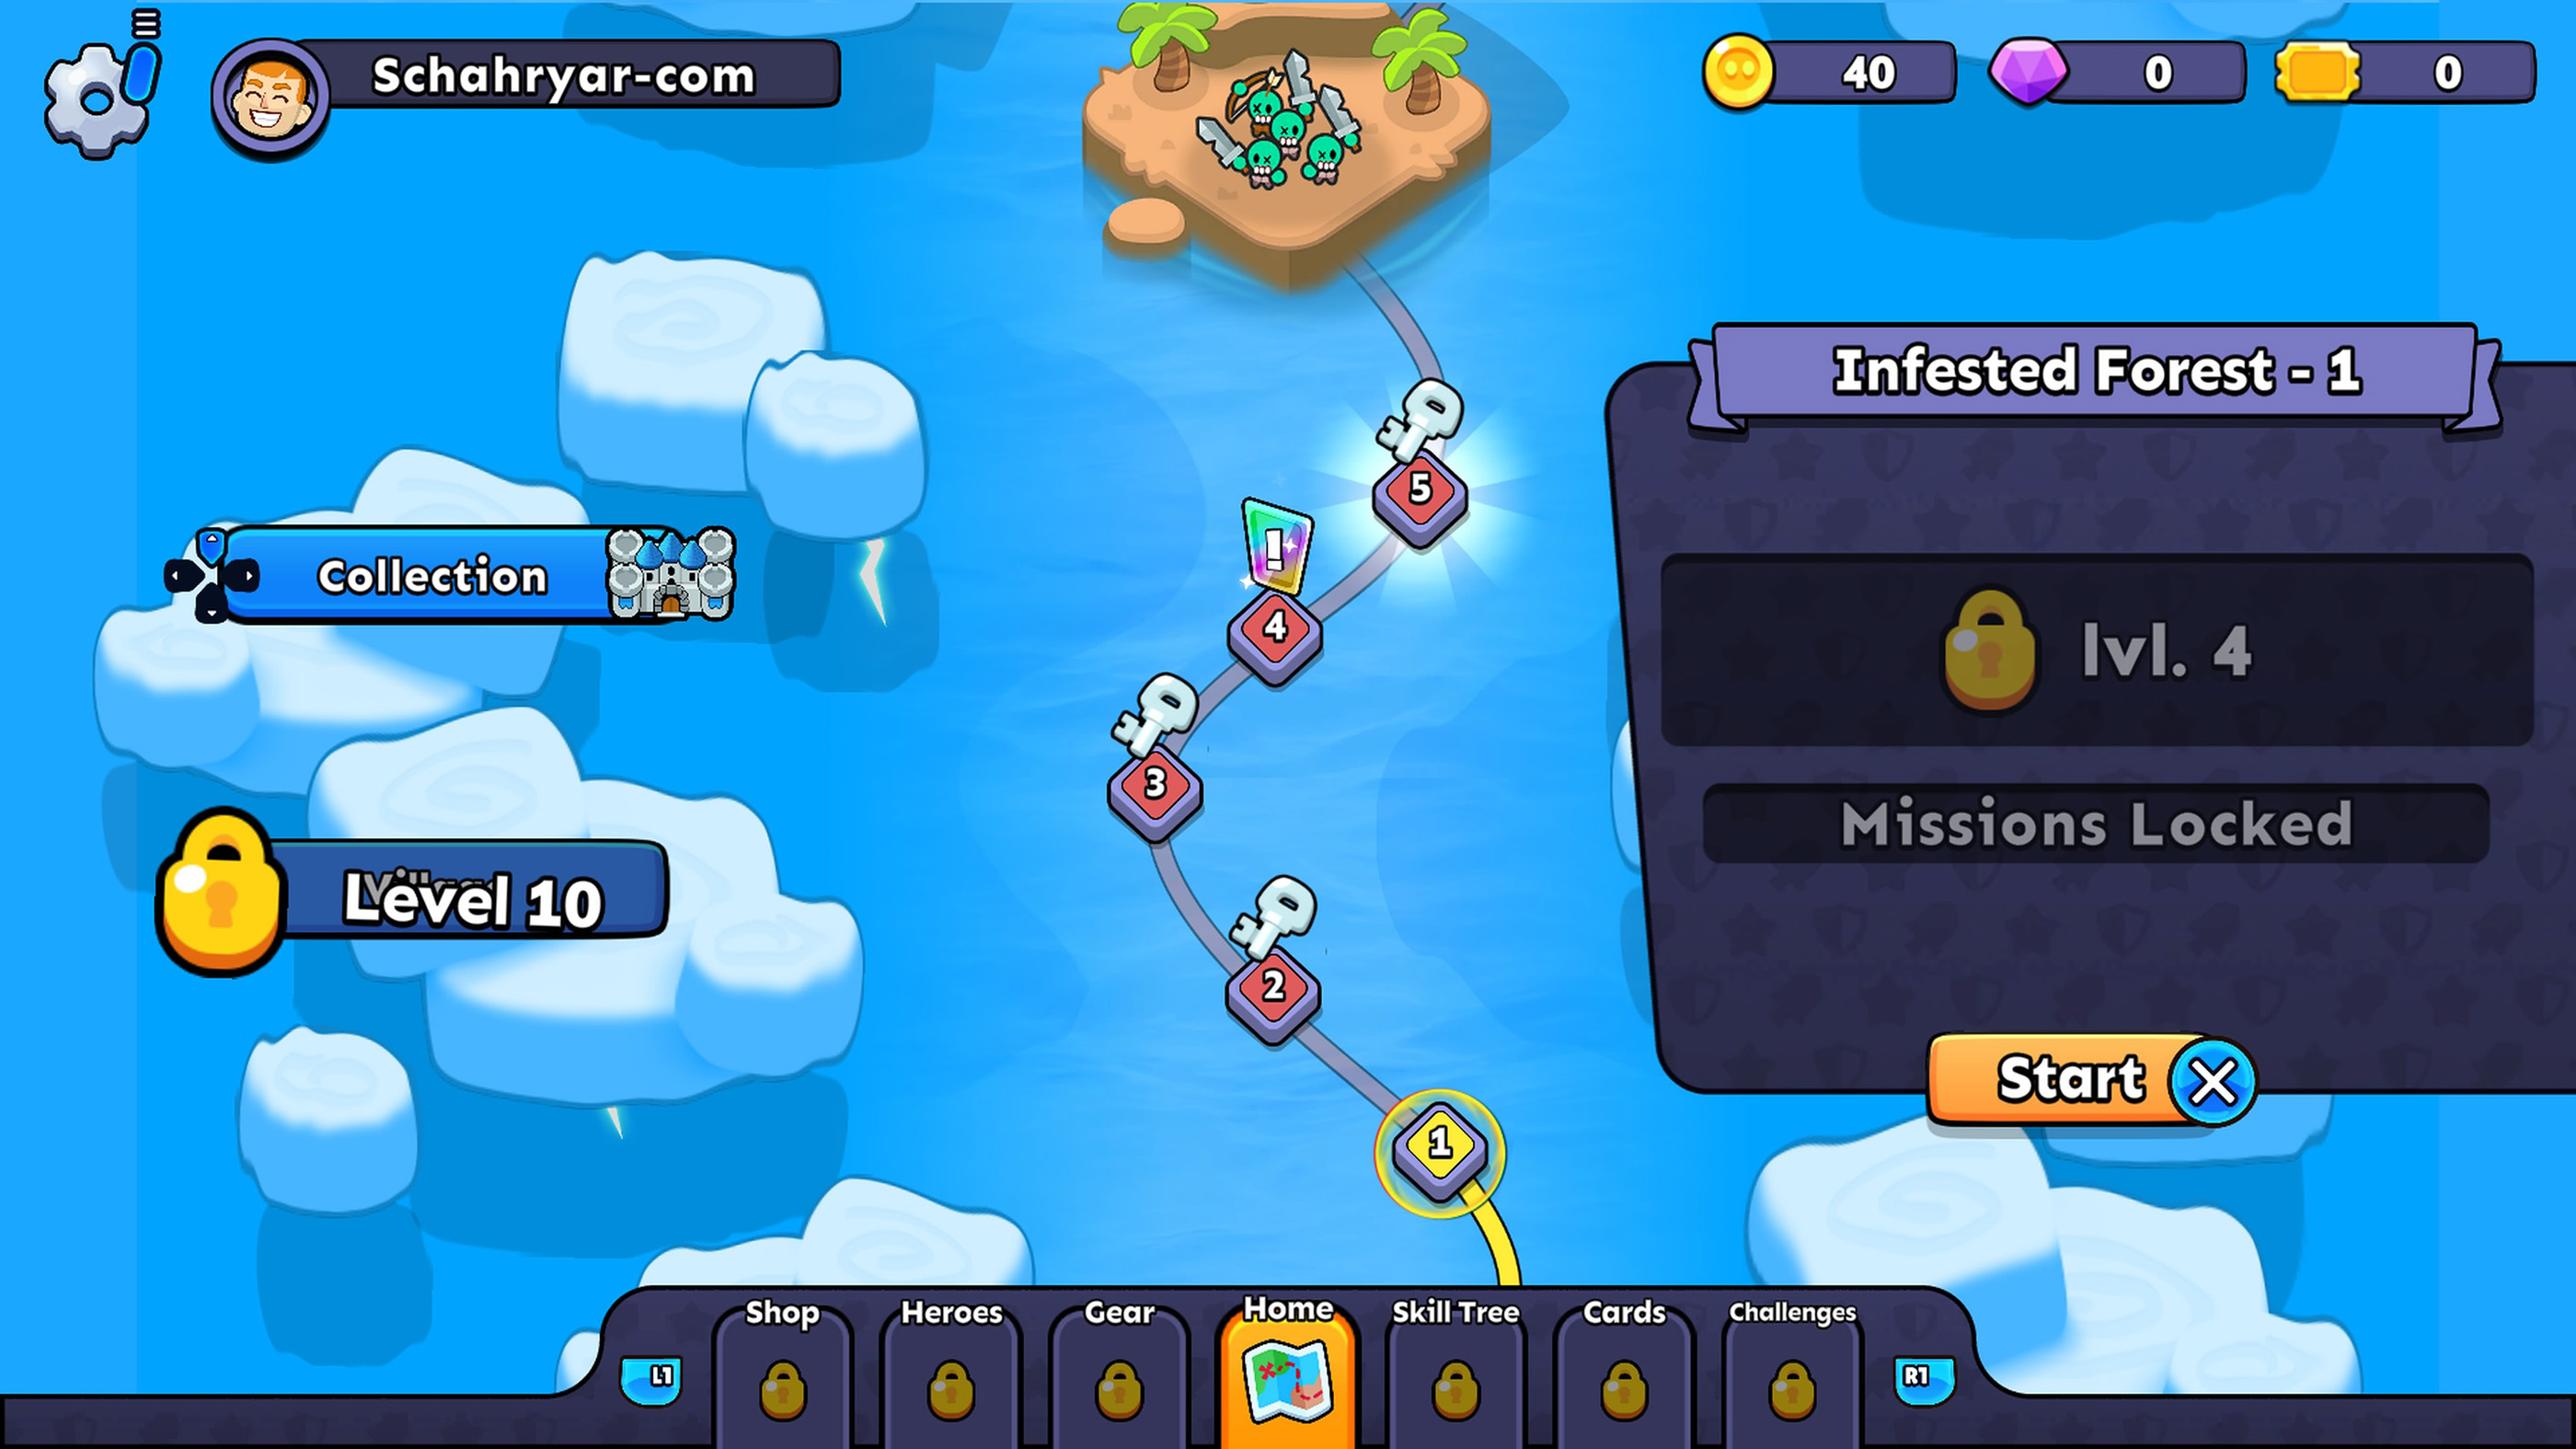
Different stages change available space, obstacles and enemy routes. A formation that dominated the previous level may fit poorly on the next one.
Identify the real choke point before buying around it. Fortress Merge rewards adaptation more than trying to recreate one favorite layout everywhere.
Grand Battle, Boss Fight and Hero Battle Need Different Priorities
The game includes several challenge modes in addition to regular campaign stages.
Grand Battle puts more emphasis on maintaining a complete fortress through heavier pressure. Boss Fight tests whether you can create enough concentrated damage and stall. Hero Battle places more importance on the strength of your hero and equipped gear.
Do not assume the exact same upgrade priorities will be ideal in every mode.
Common Fortress Merge Beginner Mistakes
Merging every matching building immediately
Sometimes two useful structures are stronger than one upgraded copy.
Putting mines near the enemy entrance
Protect economic buildings so they survive long enough to produce value.
Rerolling until gold is gone
Use rerolls to solve specific problems rather than searching endlessly for a perfect shop.
Placing the castle wherever it starts
Move it when another tile gives enemies a longer route through your defenses.
Speeding up an unfamiliar wave
Normal speed makes pathing and placement mistakes much easier to identify.
Ignoring global upgrades
A bonus affecting several buildings can be more valuable than a larger bonus for one unit you barely use.
A Reliable Early Wave Setup
- Identify the route enemies are most likely to follow.
- Place a barricade where it creates the longest useful stall.
- Add at least one unit producing building.
- Place ranged damage behind the frontline.
- Add a mine only if it can be protected.
- Position the hero close enough to contribute without using the main wall tile.
- Check the castle position.
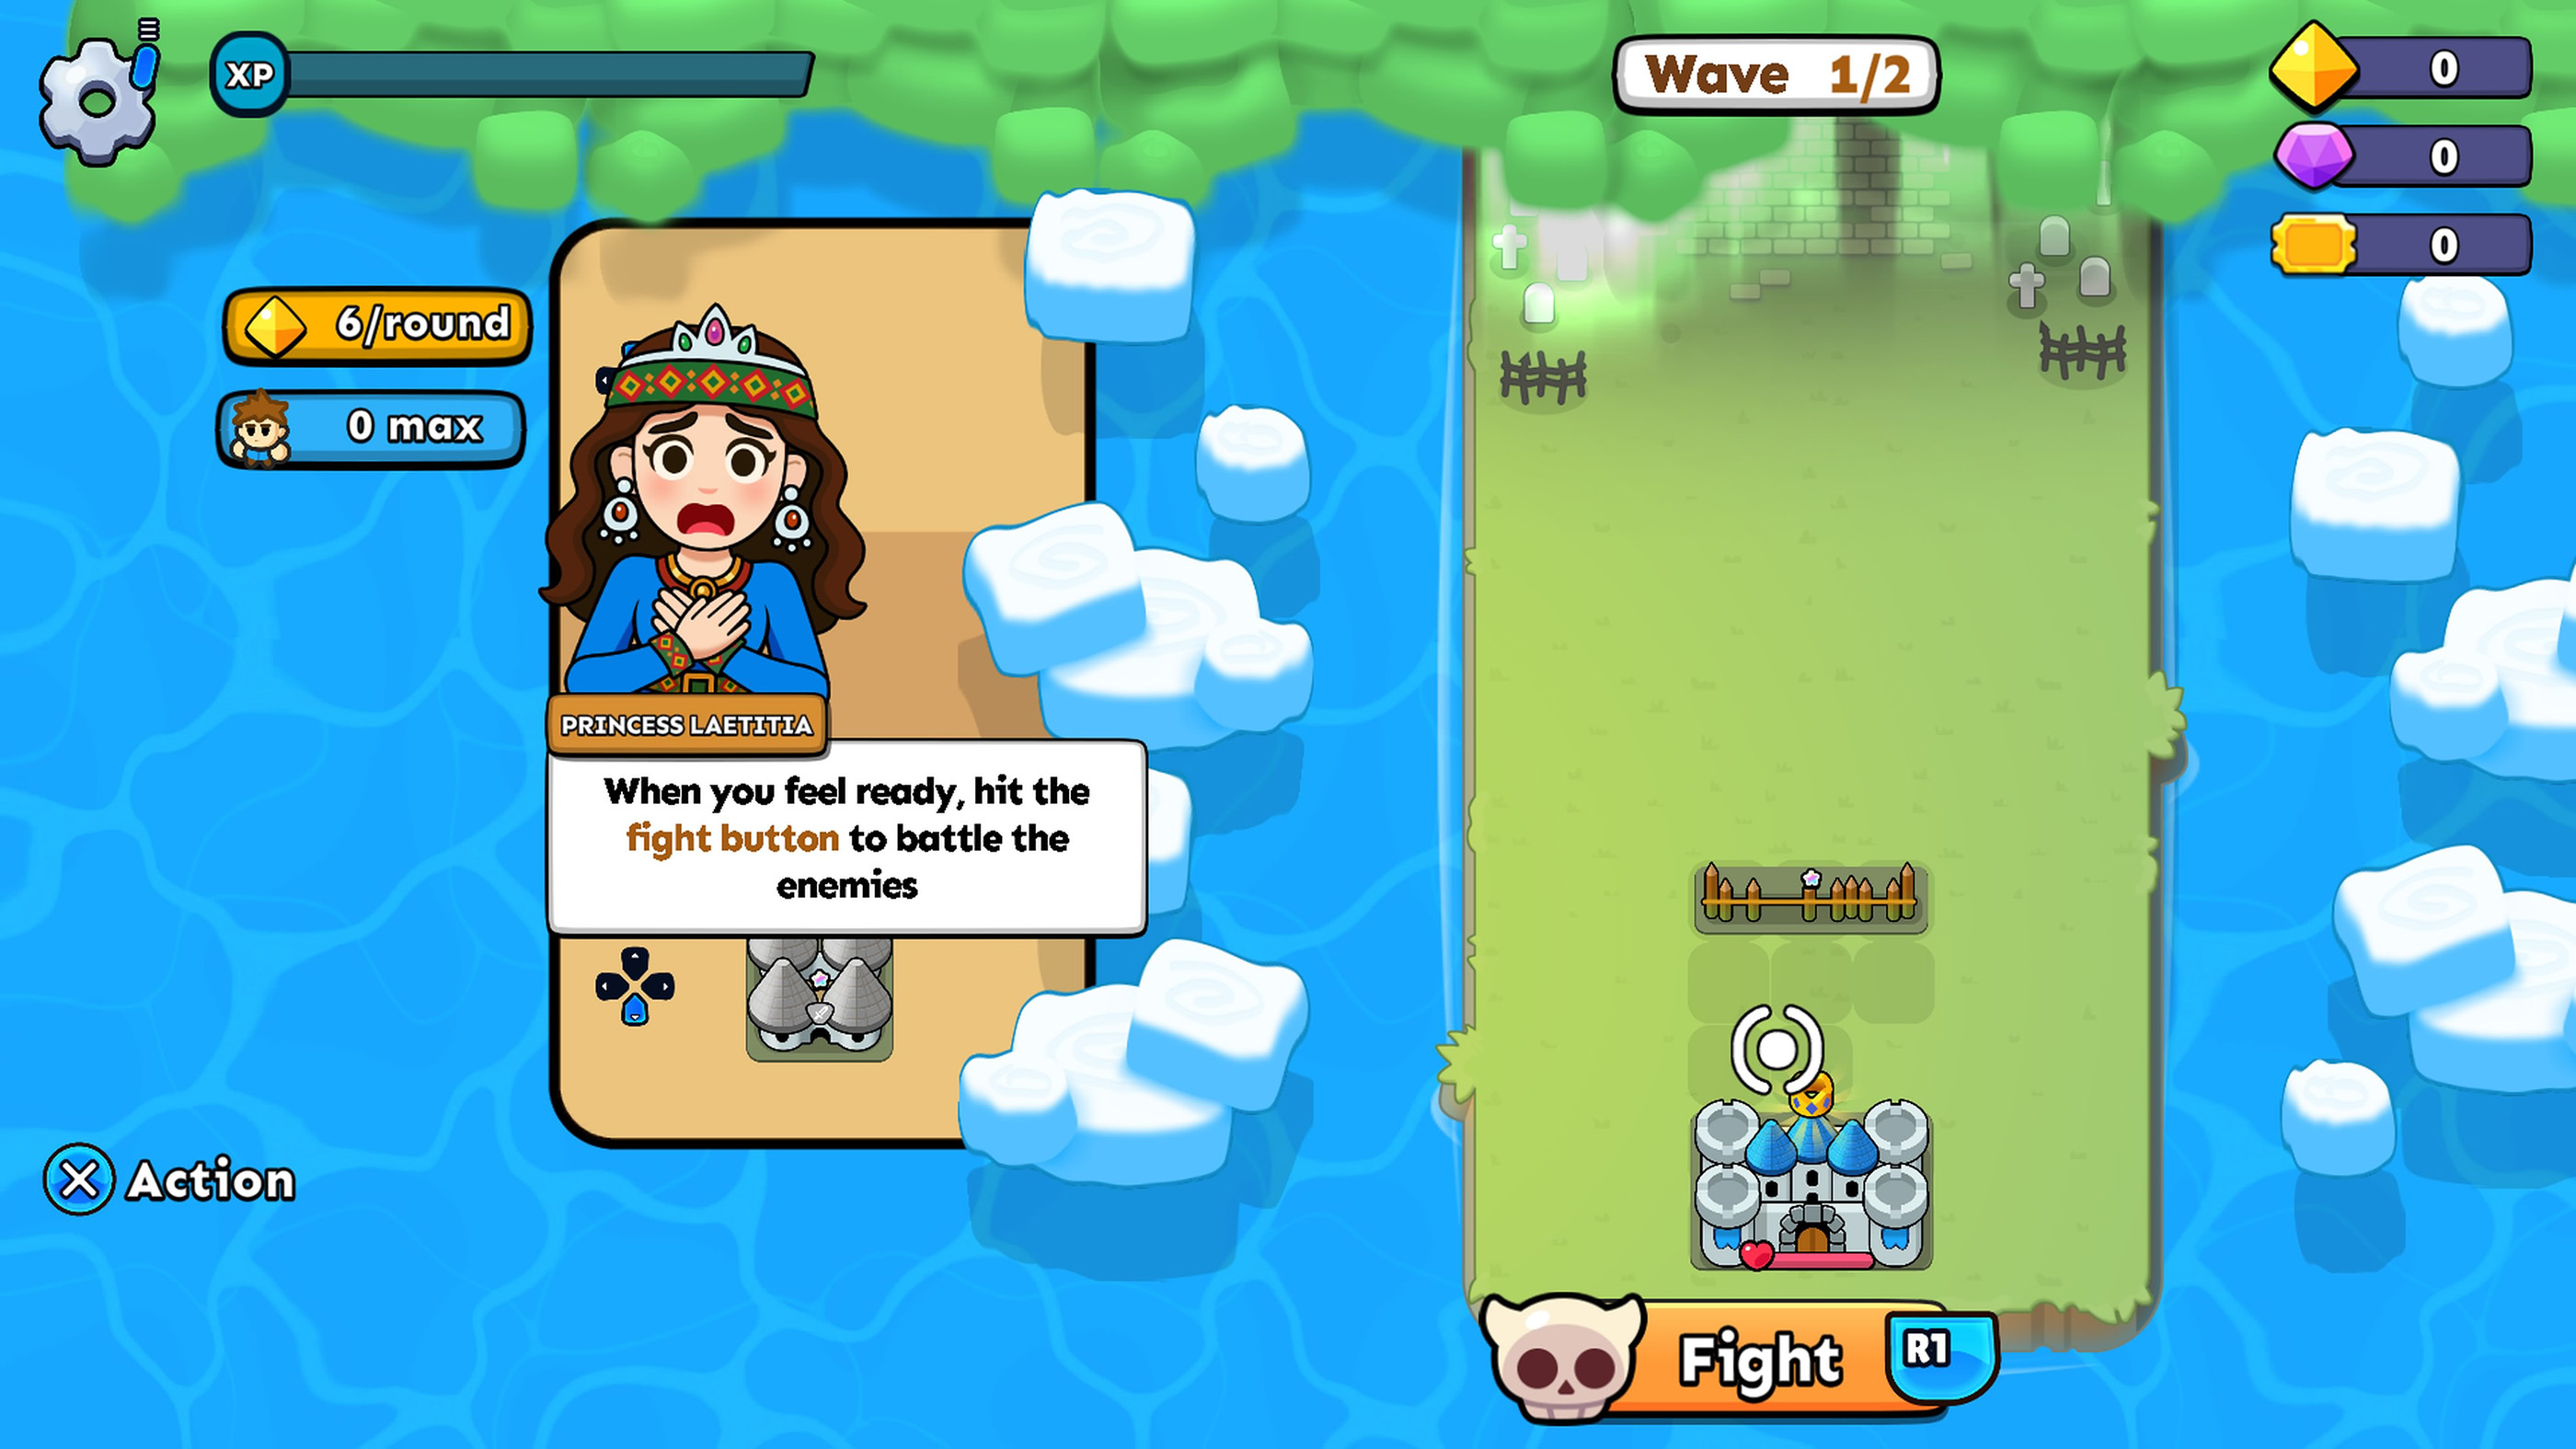
- Start the wave at normal speed and watch the path.
A Good Boss Preparation Routine
- Check how many waves remain.
- Upgrade the barricade covering the main route.
- Make sure your strongest towers can attack the choke point.
- Sell economy buildings that no longer have time to pay back their cost.
- Remove unnecessary duplicate support buildings.
- Spend remaining gold on useful combat improvements.
- Choose upgrades that strengthen the units already on your board.
- Run the opening of the boss wave at normal speed.
Fortress Merge Tips FAQ
Should you always merge buildings?
No. Merge when the stronger structure or extra tile is more valuable than keeping two separate buildings.
Where should barricades go?
Place them on the enemy route where ranged defenses can continue attacking enemies while they are stalled.
Where should gold mines go?
Keep them behind the main defensive line where enemies are unlikely to reach them early.
What upgrades should beginners choose?
Broad bonuses such as useful cooldown reductions, building durability and damage increases that match your current board are strong choices.
Should I spend gold before a boss?
Yes. Unused gold does not damage the boss, so convert it into useful defenses, buildings or rerolls when the final fight is approaching.
Is it bad if a barricade gets destroyed?
Not necessarily. If it delays enemies long enough for your damage buildings to do their job, it has served its purpose.
How do I get better at Fortress Merge?
Pay attention to placement before chasing higher building levels. A well positioned lower level defense can outperform stronger buildings arranged poorly.
Build for Time, Not Just Damage
The strongest Fortress Merge boards make enemies waste time. Barricades delay them, melee units keep them occupied and ranged buildings exploit every extra second.
Once you start judging buildings by how they support that complete defensive loop rather than by level alone, merging decisions, shop rerolls and boss preparation become much easier.
Comments
No comments yet. Be the first to share your thoughts!