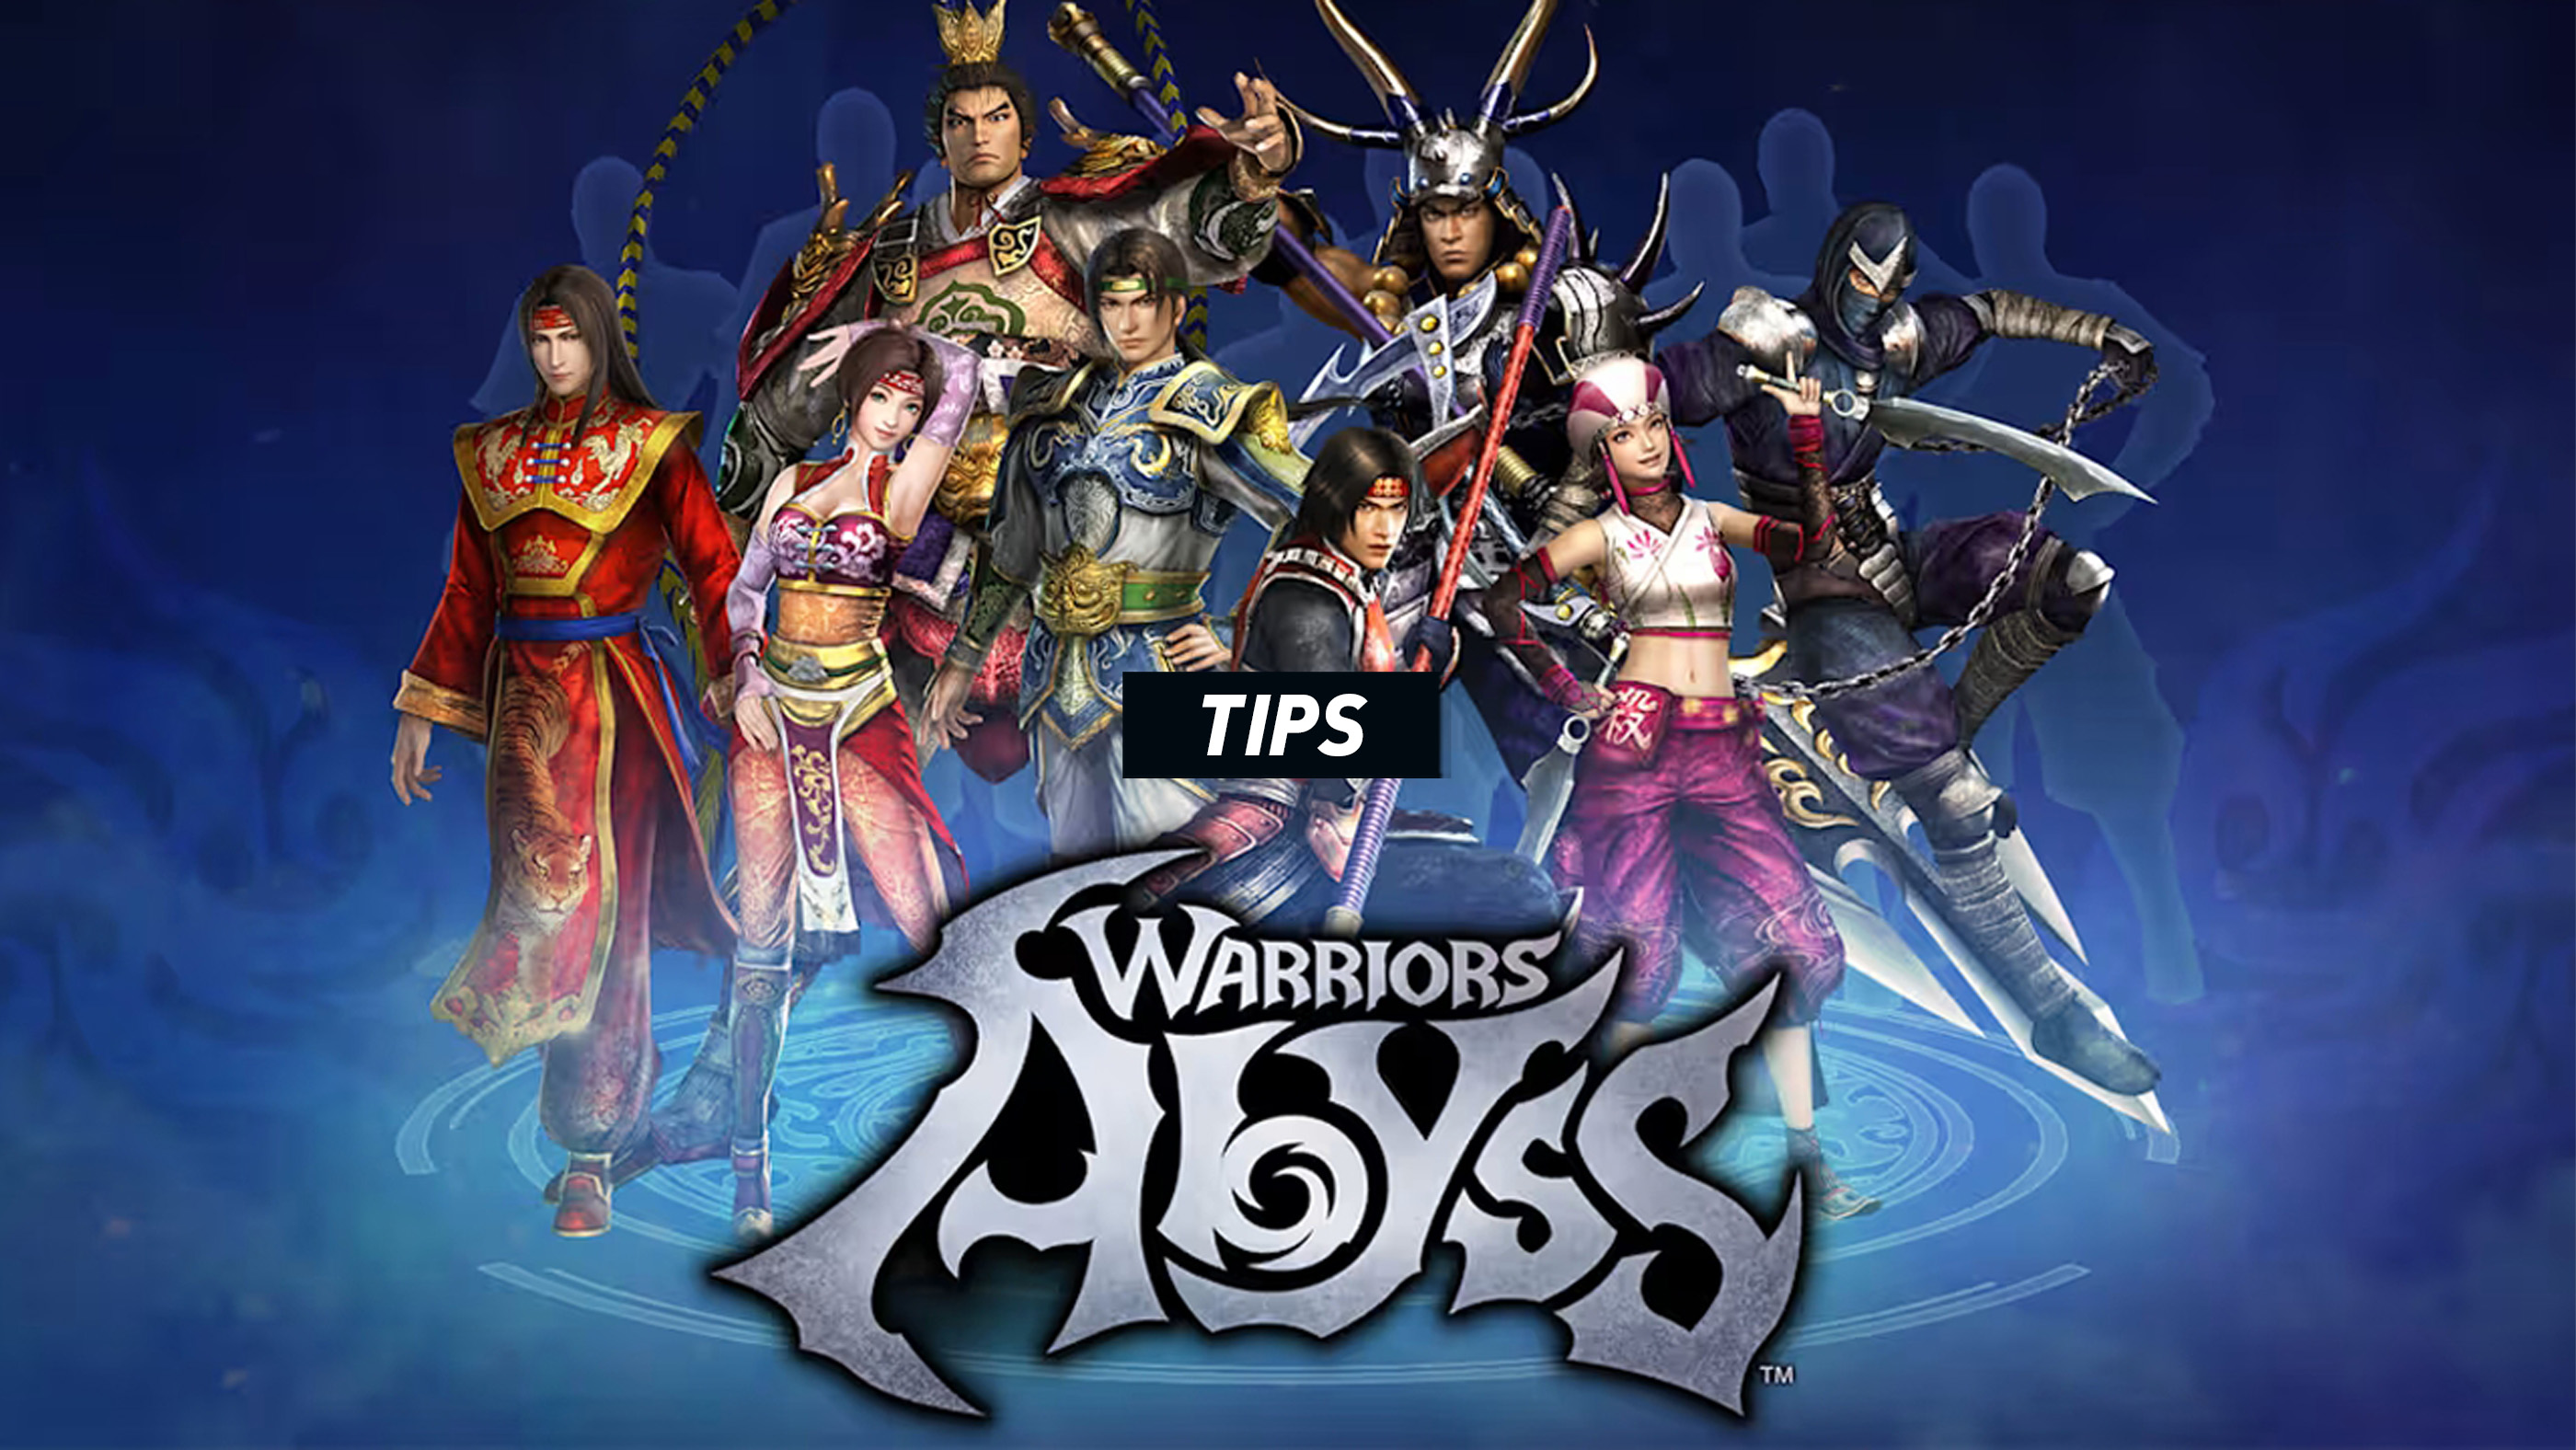
Warriors: Abyss looks like a game about defeating as many enemies as possible, but raw aggression only carries a run so far. The deeper strategy lies in deciding which heroes to recruit, where to place them, which Emblems to stack, when to reroll an alliance, and how to turn six separate Summoning Skills into one coherent build.
A successful run is rarely built from six individually famous warriors. It is built from heroes whose Emblems, Unique Strategies, attributes, summon effects, formation positions, and cooldowns solve the same problem together.
These spoiler-light Warriors: Abyss tips cover early progression, hero builds, Crystal Saplings, formations, summon timing, bosses, permanent upgrades, higher Traversal Levels, Training Hall, Transcendence, Records of Sin, Sealing Ceremony, and the mistakes most likely to end a promising journey.
Learn Your Player Hero Before Planning the Formation
Your selected hero determines the attacks you perform for the entire run. Before choosing allies, understand what that hero already does well.
- Does the moveset clear broad crowds or concentrate on one target?
- Does it naturally apply Flame, Ice, Bolt, or another status?
- Which Charge or Hyper Attack has the safest range?
- Which attack leaves the hero exposed?
- Does the hero need help gathering enemies together?
- Can the hero move while attacking, or must they stand in place?
Recruit allies that fill the missing roles. A slow, heavy hero benefits from crowd control and protection. A mobile crowd-clearer may need concentrated boss damage instead.
Do Not Choose a Hero Only by Starting Battle Power
Battle Power is a useful summary, but it cannot fully represent attack speed, range, invulnerability, summon synergy, cooldown reduction, or how easily a moveset applies an attribute.
A lower-power hero with a safe, wide attack string may outperform a stronger hero whose best moves are slow or difficult to position.
Unlock Attack Actions Early
Effect upgrades that unlock additional attack actions expand the player hero's combo tree and can also open later summon slots. An incomplete moveset limits damage, mobility, and formation access.
Unless an immediate survival upgrade is necessary, attack-action unlocks are among the strongest early choices because they improve every remaining phase of the run.
Test Both the Normal and Hyper Sides of a Moveset
Dynasty Warriors-style and Samurai Warriors-style heroes are built differently. Do not force the same combo habits onto both.
With a Dynasty-style hero, learn which Normal-to-Charge branch controls crowds and which damages bosses. With a Samurai-style hero, test how far each Hyper string travels and which Charged Hyper finisher is safest against elite enemies.
Kill the Required Enemies Before Chasing Every Elite
Most ordinary stages are cleared by defeating enough enemies or completing a displayed objective. Powerful optional enemies may offer rewards, but fighting every one can cost health, time, and summon cooldowns.
When the build is weak, focus on the stage requirement. Return to dangerous elites only when the reward is worth the risk or a bonus mission specifically asks for them.
Move Toward Dense Groups
Spirit Essence and other run resources are gained more efficiently when attacks hit large crowds. Search for packed formations rather than spending several seconds chasing a few scattered soldiers.
Hyper Attacks, broad Charge Attacks, and gathering summons are especially useful for moving from one dense group to the next without breaking the pace of the stage.
Keep the Camera Far Enough Back
A later update added adjustable camera distance. Pulling the camera back makes boss indicators, projectile attacks, and flanking enemies easier to see.
A closer camera shows costume and animation detail more clearly, but it is generally less practical at high Traversal Levels where attacks arrive from several directions.
Read Attack Indicators Before Committing
Bosses and elite enemies often display the area that an attack will cover. Move out before finishing another long combo.
When the indicator is large, evade toward its nearest edge rather than directly away from the boss. The shortest route out is normally safer.
Evade Sideways Around Bosses
Retreating in a straight line can keep you inside a long forward attack and make it harder to counter. A sideways evade often moves the hero outside the hitbox while preserving close range.
After the attack passes, use a Dash Attack or fast Charge Attack to punish the recovery animation.
Build Around Emblem Thresholds
Every allied hero carries Emblems representing affiliations, characteristics, weapon styles, attributes, or other categories. Collecting enough matching Emblems activates Effect Upgrades and can unlock Unique Strategies.
Do not merely count how many heroes share an affiliation. Read the next threshold and ask whether one more matching hero would activate something meaningful.
A fifth hero who completes a major Emblem bonus is often more useful than a individually stronger hero who contributes nothing to the build.
Choose One Main Emblem Direction
Early in a run, concentrate on one clear identity: a faction, elemental status, weapon category, Brave General group, or another Emblem family supported by the player hero.
A scattered formation containing one of everything may produce a respectable Battle Power number while failing to activate the strongest upgrades.
Keep a Secondary Emblem Plan
Random hero offers do not always support the ideal build. Choose a secondary category that overlaps with several members of the main plan.
For example, heroes from the same faction may also share an attribute, leadership category, or weapon classification. That overlap keeps rerolls under control and makes imperfect offers useful.
Read Unique Strategy Conditions Carefully
A Unique Strategy can define the entire run, but only when its activation requirements are actually satisfied. Some depend on specific heroes, Emblem counts, attributes, or relationships.
Before rerolling past an apparently ordinary hero, check whether that hero completes a Unique Strategy belonging to the player hero or another important ally.
Do Not Build Only for the Final Synergy
A plan requiring six precise heroes may be powerful when complete but miserable during the first several phases. Choose intermediate allies and upgrades that keep the build functional while you search for the final pieces.
The best build is one that survives long enough to become complete.
Use Crystal Saplings Deliberately
Crystal Saplings offer alliances with randomized heroes. Later versions allow you to inspect which heroes are available before spending rerolls, so use that information rather than rerolling blindly.
Before choosing, compare each candidate in four areas:
- The Emblems added to the party.
- The hero's Summoning Skill.
- The Unique Strategies the hero helps activate.
- The formation slot in which the hero would be useful.
Do Not Spend Every Reroll Early
The first phases usually provide enough flexibility to accept a useful but imperfect ally. Later phases offer fewer opportunities to repair a build and may require one specific hero to activate a major bonus.
Keep several rerolls in reserve unless the current choices contribute almost nothing.
Know When to Accept the Safe Choice
A hero that adds health, defense, recovery, or a strong crowd-control summon may be the correct selection even when another candidate better fits the ideal Emblem plan.
A dead build has no synergy. Survival value should outweigh a small theoretical improvement when health is already low.
Replace Weak Links, Not Core Heroes
When a stronger alliance becomes available, identify which current hero contributes the least. Do not remove a core Emblem or Unique Strategy component simply because the replacement has a larger number.
Check how the removal changes active effects before confirming.
Place Frequently Used Summons in Early Slots
Heroes in early formation slots can generally be activated through shorter combo branches. Place crowd gathering, protection, status application, or other frequently needed skills there.
Late slots are suitable for devastating summons you use mainly against bosses or during longer openings.
Arrange Slots Around the Player Hero's Best Combo
If the player hero's strongest move is Charge Attack 3, the summon associated with that branch will activate frequently. Place a hero there whose skill naturally follows or improves that attack.
Do not place the most important summon behind a combo branch you rarely use.
Balance Summon Damage and Utility
Six damage-only summons can produce spectacular numbers but leave the hero helpless when enemies cannot be staggered or a boss begins a dangerous sequence.
A rounded formation usually benefits from some combination of:
- Wide crowd clearing.
- Single-target damage.
- Enemy gathering or displacement.
- Attribute or status application.
- Protection, healing, or defensive support.
- Cooldown reduction or summon enhancement.
Stagger Summon Cooldowns
Calling every hero simultaneously clears one wave quickly but leaves the entire formation unavailable afterward. Use summons in a rotation unless Assemble or a boss opening justifies spending everything.
Try to keep at least one crowd-control or defensive summon ready at all times.
Use Quick Summon as an Emergency Tool
Quick Summon is best when the correct hero is needed immediately. It is less efficient when used simply because the button is available.
Call an ally to interrupt a boss, protect a bonus mission, apply a missing status, or rescue the player hero from a dangerous recovery animation.
Trigger Summons Through Combos When Safe
Combo-based summoning keeps the attack flowing and may avoid the extra cooldown associated with Quick Summon. Against ordinary crowds, this should be your normal method.
Save Quick Summon for moments when performing the associated combo would be too slow or dangerous.
Use Assemble Before the Situation Becomes Hopeless
Assemble is strongest when the formation has time and space to attack. Activating it after the player hero has been cornered may waste much of the duration on recovery and repositioning.
Use it when a dangerous wave begins, when several elites gather, or as a boss enters a punishable phase.
Save Assemble for Bonus Missions When Necessary
Some stage bonuses ask you to defeat a target quickly or meet a demanding combat condition. Assemble can secure these objectives more reliably than ordinary attacks.
When a bonus mission is likely to appear, avoid spending the gauge on the final few enemies of an easy wave.
Do Not Waste the Formation Finisher
Watch the remaining Assemble time and the target's movement. Use the Formation Attack while the enemies are still grouped and vulnerable.
Waiting until the final instant risks losing the command or striking after the boss has moved away.
Combine Assemble with Attributes
A formation containing several attribute-applying summons can rapidly trigger Burn, Freeze, Shock, or other effects while Assemble is active.
Choose Effect Upgrades and Unique Strategies that reward the same status rather than spreading bonuses across unrelated attributes.
Treat Health as a Run Resource
Damage carries forward and can make the next boss much harder even when the current stage is technically cleared. Avoid unnecessary trades with ordinary enemies.
A slower but clean stage is often better than finishing five seconds earlier after losing a large portion of health.
Prioritize Recovery When the Run Needs It
An offensive upgrade may be exciting, but healing or maximum-health improvements can preserve an otherwise excellent build.
Take recovery when the current health total is unlikely to survive the next boss. There is no benefit in saving for a perfect damage build that never reaches its final phase.
Choose Defensive Effects at Higher Traversal Levels
As difficulty rises, enemy damage and pressure make pure offense less reliable. Defense, damage reduction, recovery, movement safety, and crowd control become increasingly valuable.
The goal is not to make every run slow. It is to survive one mistake without losing the entire attempt.
Know When to Abandon an Elite Fight
Some enemies have attacks with a maximum practical range. If the reward is not essential, move away and continue clearing the actual stage objective.
Leaving a bad fight is a strategic decision, not a failure.
Prepare for the Level Boss Before Entering
Before using the final portal of a phase, check:
- Current health.
- Musou gauge.
- Assemble gauge.
- Summon cooldowns.
- Active Emblem upgrades.
- The player hero's safest boss combo.
Allow essential summons to recover when possible instead of entering with every icon unavailable.
Spend the First Attempt Learning the Boss
Watch how the boss begins each attack, how far the indicator reaches, and where the recovery windows occur. Do not spend every resource during the opening seconds of an unfamiliar encounter.
Once the pattern is clear, align Musou, Assemble, and high-damage summons with the safest opening.
Clear Lesser Enemies When They Obscure the Fight
Boss arenas may fill with ordinary soldiers that hide attack indicators and interrupt combos. A wide summon or Musou Attack can clear the screen and make the boss easier to read.
Do not spend too long individually attacking every soldier while the boss remains active.
Do Not Chase a Boss Through Hazardous Attacks
Some bosses create dangerous zones or move away after attacking. Let them finish and return rather than following through the hazard.
Preserving health is more important than landing one additional Normal Attack.
Use Assemble During a Stable Damage Window
The best Assemble window begins after the boss completes a major attack and remains in one area. This gives allied heroes time to connect and keeps the Formation Attack centered on the target.
Spend Karma Embers with a Plan
Karma Embers unlock heroes and support permanent progression in the Hall of Bonded Souls. Unlocking everything immediately increases variety but also expands the pool of heroes that can appear during a run.
Early on, prioritize heroes and formations that support the characters you actually enjoy playing.
Unlock Formations That Match Real Builds
A formation is valuable when its slot bonuses and activation requirements support a build you can reliably assemble. Do not purchase one only because its maximum potential appears impressive.
Consider the Emblems and heroes already unlocked before deciding where to spend limited currency.
Raise Cumulative Levels on Regularly Used Heroes
Cumulative Levels provide permanent statistical improvements at certain milestones and also improve the performance of heroes when used as summons.
Investing in a small group of frequently selected heroes creates more immediate value than spreading resources evenly across the entire roster.
Use Transcendence Selectively
Transcendence can strengthen heroes, improve or alter Unique Strategies, add Emblems, and increase stats. It requires a significant Karma Ember investment and is available for heroes whose Unique Weapons have been unlocked.
The investment can be refunded by deactivating Transcendence, so experiment with heroes that support your preferred builds rather than treating the decision as permanent.
Target Useful Unique Weapons
Unique Weapons provide important permanent benefits and are also tied to later progression systems. Focus first on characters whose playstyle and summon value you already understand.
A difficult weapon unlock is more worthwhile when the hero will be used both as a player character and as a formation member.
Use Training Hall to Test Builds
Training Hall becomes available after defeating Gouma and allows you to challenge Traversal Levels already cleared in normal play. It is an excellent place to compare heroes, formations, and attack rotations without relying entirely on another full exploratory run.
Use it to answer specific questions: Can this build survive a certain boss? Does an early-slot summon improve the rotation? Is the Unique Strategy worth the required heroes?
Use Sealing Ceremony to Improve the Random Pool
After defeating Gouma, the Sealing Ceremony can prevent unlocked heroes, formations, or Treasures from appearing. This helps reduce options that do not support the builds you want to pursue.
Do not seal every merely average item. Keep enough variety for flexible runs and remove only choices you consistently avoid.
Experiment with Customization Settings
Customization Settings can temporarily change permanent systems and can re-enable elements sealed through the Sealing Ceremony. This makes them useful for challenge runs, testing, or rebuilding the original randomized experience.
Create a controlled pool when pursuing a specific synergy, then restore more variety when ordinary runs begin feeling repetitive.
Use Void of Ephemerality for Aggressive Practice
Void of Ephemerality is a timed mode where defeating powerful enemies extends the clock. Unlike ordinary Depths runs, its structure rewards aggressive routing and rapid target selection.
Enter with a build capable of moving quickly between groups and eliminating elites without spending too long on defensive play.
Manage Records of Sin
Records of Sin add another layer of build modification and can be earned through advanced modes and additional rewards. Keep effects that reinforce heroes and strategies you genuinely use.
When capacity is limited, remove weaker or highly situational records instead of judging only by rarity.
Use Additional Rewards to Develop the Account
Completing runs at Traversal Level 1 or above can provide additional Records of Sin, with better difficulties offering improved reward potential. Even an imperfect high-level clear can contribute meaningful permanent progression.
Choose Treasures That Multiply the Build
A Treasure that strengthens the build's central mechanic is usually better than a small general increase.
Prioritize effects that improve your main attribute, summon damage, summon cooldown, Musou generation, formation strength, or the attack branch used most frequently.
Do Not Overvalue Battle Power
Battle Power combines many effects into one visible total, but it does not understand every interaction. A lower displayed number may hide superior cooldowns, crowd control, safer attacks, or a stronger status loop.
Use Battle Power as a warning that the build may be falling behind, not as the only measure of quality.
Check Active Effects Regularly
Open the Status or Active Effects screen to review Treasures, Emblem upgrades, Unique Strategies, and other bonuses currently shaping the run.
This is especially important after replacing a hero, because one alliance change can disable several effects at once.
Build for Multiplication, Not Addition
The strongest runs combine effects that reinforce each other. Increased summon frequency becomes more valuable when summon damage is already high. Status damage becomes stronger when the formation applies the same attribute repeatedly.
Several modest bonuses affecting one loop can outperform one large but isolated bonus.
Do Not Restart Every Imperfect Opening
Roguelite builds develop through adaptation. An early hero that does not match the original plan may reveal a different synergy or provide the defensive summon needed to survive.
Restart only when the opening is genuinely unplayable, not merely less efficient than an ideal screenshot or guide build.
Recognize When the Build Has Changed Direction
If several strong heroes from another Emblem family appear, stop spending rerolls trying to force the original plan. Recalculate which Unique Strategies and thresholds are now reachable.
A successful pivot is one of the most valuable skills in Warriors: Abyss.
Play the Current Run, Not the Future Fantasy Build
Choose the reward that solves the next phase. A small health improvement or reliable summon may matter more than a theoretical bonus requiring three heroes you have not found.
Long-term synergy is important, but immediate survival earns the opportunities needed to complete it.
Common Beginner Mistakes
- Using only Normal Attacks and ignoring Charge or Hyper branches.
- Quick Summoning every hero as soon as the cooldown ends.
- Building from famous character names instead of Emblems and skills.
- Placing the most important summon in a combo slot rarely used.
- Spending all rerolls during the opening phase.
- Holding Musou and Assemble for so long that neither is used.
- Fighting every elite even when the stage objective is already available.
- Ignoring attack-action unlocks.
- Replacing a hero without checking which effects will deactivate.
- Entering a boss with every summon on cooldown.
- Following Battle Power while ignoring actual synergy.
- Refusing defensive upgrades at high Traversal Levels.
Frequently Asked Questions
What is the best beginner hero in Warriors: Abyss?
A beginner-friendly hero has wide attacks, quick recovery, safe Charge or Hyper branches, and a moveset that works before receiving many upgrades. The best choice depends on which heroes you have unlocked and whether you prefer Dynasty Warriors or Samurai Warriors-style combos.
What should I upgrade first during a run?
Unlock additional attack actions early, then strengthen the mechanic your build uses most: normal or charge damage, Hyper Attacks, summons, a chosen attribute, Musou, or Assemble. Take health and recovery when survival is becoming uncertain.
How do I make a strong formation?
Choose heroes with overlapping Emblems and useful Unique Strategy conditions, then place frequently needed summons in early combo slots. Include crowd control, boss damage, and at least one defensive or utility option.
Should I always choose the hero with the highest Battle Power?
No. Emblem thresholds, Unique Strategies, Summoning Skills, cooldowns, and slot compatibility can make a lower-power hero far more useful.
How should I use Quick Summon?
Use it when an ally's skill is needed immediately: to stop an attack, clear a dangerous crowd, complete a timed objective, or apply a key status. Trigger summons through their combo branches when the situation is safe.
When should I use Assemble?
Activate it against bosses during a stable opening, against several grouped elites, or when a timed mission requires a rapid clear. Avoid spending it just before the target moves or becomes invulnerable.
What should I spend Karma Embers on?
Unlock heroes and formations that support your preferred builds, then invest in frequently used heroes through Cumulative Levels, Unique Weapons, and Transcendence.
What does Sealing Ceremony do?
It prevents selected unlocked heroes, formations, or Treasures from appearing in supported modes. Use it to reduce options that consistently weaken or distract from your preferred strategies.
How do I unlock Training Hall?
Defeat Gouma at least once. Training Hall then lets you challenge Traversal Levels previously cleared in normal play and earn first-completion rewards.
What is Transcendence?
Transcendence is a permanent-progression option for heroes with unlocked Unique Weapons. It can improve statistics, add Emblems, and modify Unique Strategies. The spent Karma Embers are returned if Transcendence is deactivated.
How do I survive higher Traversal Levels?
Use a more focused Emblem build, add defense and recovery, control summon cooldowns, enter bosses with full resources, and invest permanent currency into a smaller group of reliable heroes.
Are DLC characters required for strong builds?
No. DLC and free-update heroes add more possibilities, but the base roster contains enough Emblems, formations, summon skills, and Unique Strategies to create powerful builds.
Final Advice
The secret to Warriors: Abyss is not finding one unbeatable hero. It is making every decision point toward the same combat loop. Choose a player hero whose moves you understand, recruit allies with overlapping Emblems, place summons where your natural combos can reach them, and spend Musou or Assemble before the run is already collapsing.
A good formation makes the player hero stronger. A great formation makes every attack call the right ally, apply the right effect, reduce the next cooldown, and prepare the next attack before the current one has finished.
Read our Warriors: Abyss Controls Guide for Normal, Charge and Hyper Attacks, Evade cancelling, Quick Summon, Assemble, Formation Attacks, controller buttons, and PC input options.
Comments
No comments yet. Be the first to share your thoughts!